The Acacia tree is a common site in pictures of the African savannah, that thick central trunk with the wide, flat umbrella of vegetation at the top.
 |
| Picture stolen from elsewhere on the internet. |
I wanted some of these for my objective markers, but the question was how to make them? I tried once before with a dried Sedum stalk and a layer of coir (coconut fibre) across the top for the tree canopy, with fine foam flock added for leaves. The results of this experiment were so miserable that I won't share them here!
As mentioned in an earlier part of this series, I had some pieces of privet from a dead piece of our hedge. Being dead, these were already dry and ready to use and looked like they might form a decent shape for the basic trunk.
 |
| Bits of privet. |
The bottom of the cuttings were sawn straight with a razor saw and the "branches" snapped or clipped off to keep them reasonably compact.
 |
| Privet with hand for scale. |
Once the trees were hot glued into position and the ground cover and grass glued on, I started thinking about the tree canopies. I had some dry bamboo roots that looked quite interesting.
 |
| Bamboo roots. |
The roots are pretty strong and have a great, branch and twig-like form.
 |
| Bamboo roots. |
I also had some "forest floor" bark chippings to add round the base of the trees, made from compressed wood chip cat litter which had been soaked in dilute brown paint and crumbled into small fragments.
 |
| Reconstituted cat litter forest floor. |
A first test showed that the bamboo roots were just too bulky and 3-dimensional. I needed something flatter and after a rummage in the scenery making box I found some pan scourers, plus superglue (cyanoacrylate) and accelerator spray to help fix them quickly in place on the privet tree armatures. Some of the bamboo roots did still get used for bushes on a couple of the bases.
 |
| Pan scourers, superglue and activator spray. |
I tore up some bits of pan scourer as a test and they looked OK.
 |
| Test tree canopies. |
 |
| Test tree canopy. |
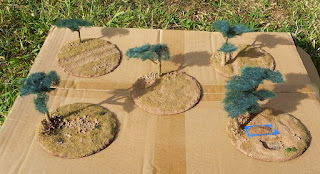
Satisfied with the test pieces, I set up my production line outside. The activator spray smelled pretty foul so I wouldn't want to do it in a confined space!
 |
| Production line. |
The shadows looked better hat the trees themselves did!
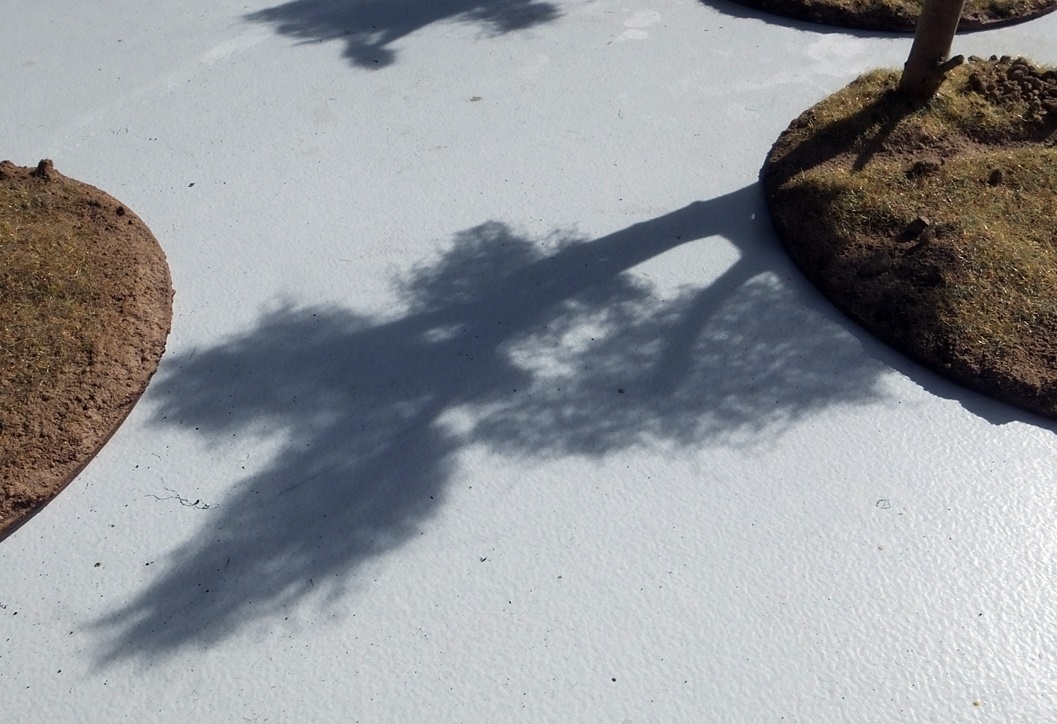 |
| Tree shadow. |
The process I followed was fairly simple. First, a rough and uneven shape was cut out of the pan scourer.
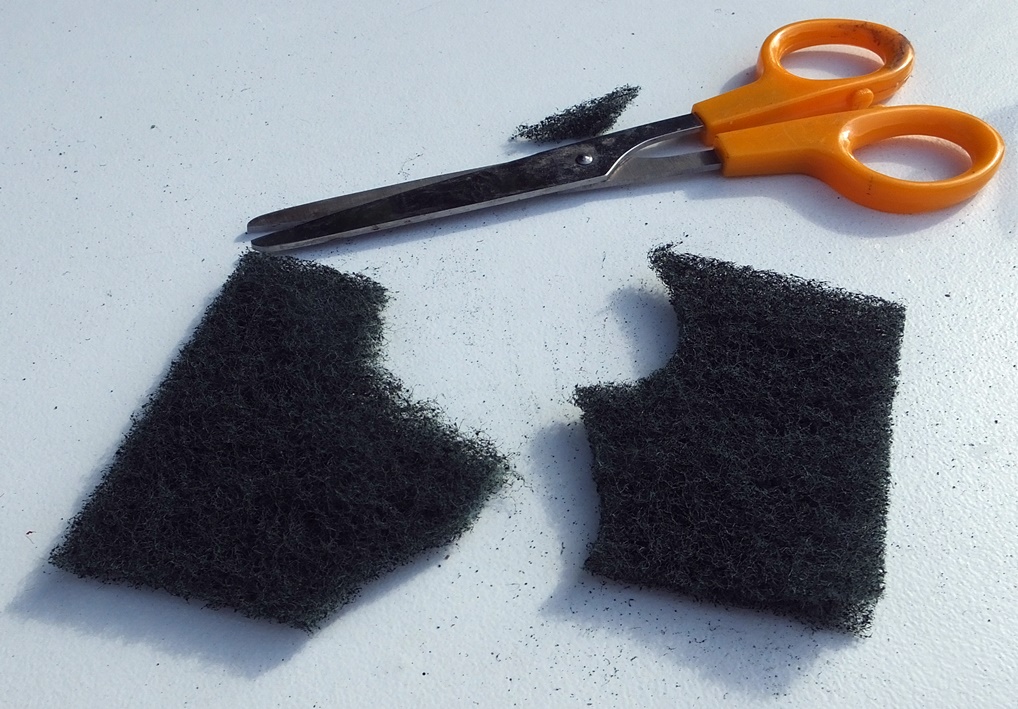 |
| Cutting out the basic shapes. |
The scourer was peeled into 2 separate layers.
 |
| Peeling into 2 separate layers. |
Each layer was teased out or torn away around the edges to give a tapered edge and hide the sharp line where it had been cut.
 |
| Teased out around the edges. |
The pan scourer layers were superglued in place on each of the branches to try and create a multi-layered top to the tree.
 |
| Glued in place. |
Where necessary, gaps were torn to fit them around tree trunks/other branches.
 |
| Superglue ensures a fast and strong join. |
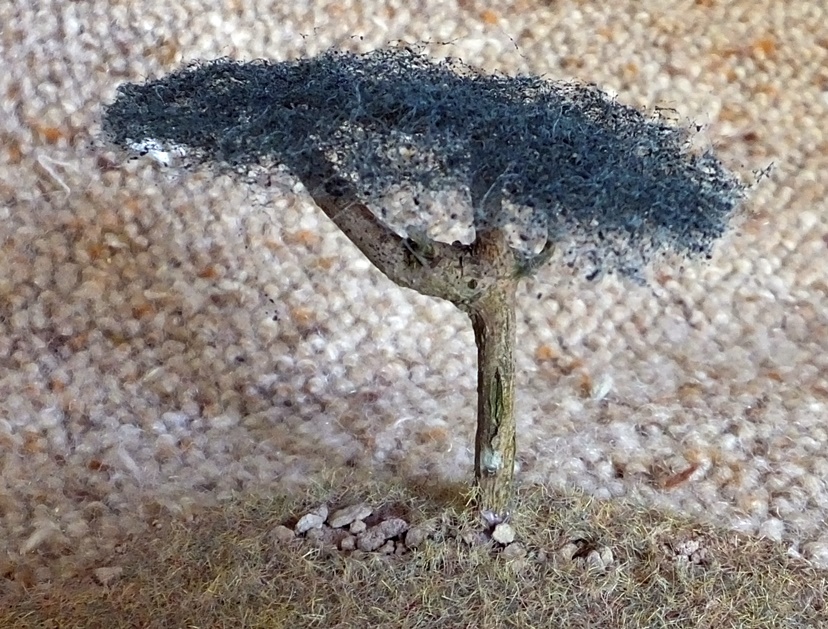
The overall result looked pretty promising but the flocking would be the key for the final appearance.
 |
| Nice layering of the canopy. |
 |
| Pan scourers all in place. |

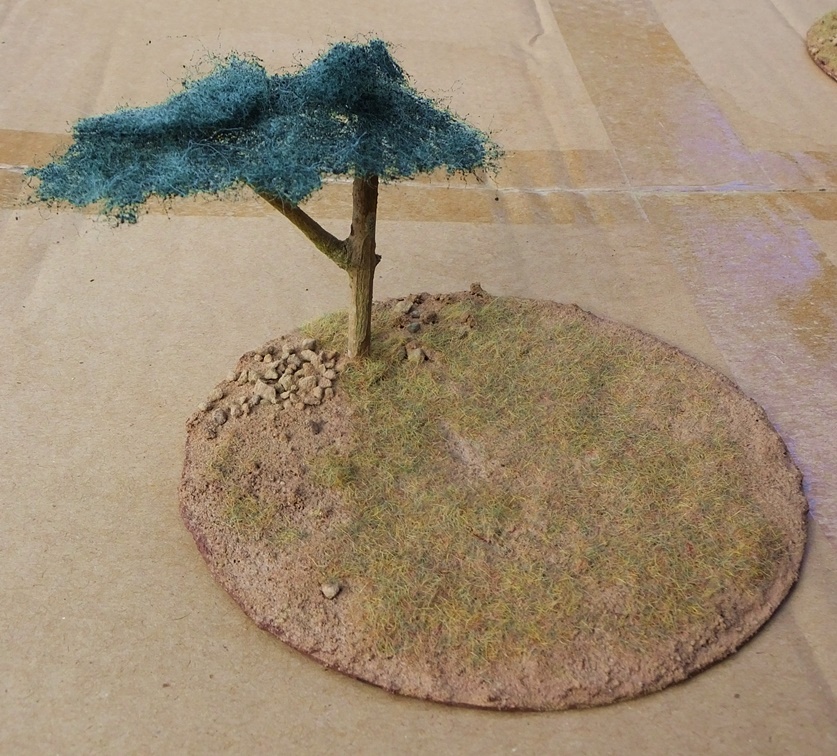


Flocking was the next stage, using some very fine foam flock. This was home-made from the batches I worked on in 2020, free upholstery foam off-cuts and cheap emulsion tester pots and craft acrylics. I got a cheap coffee grinder for £15 in Morrison's and this is fantastic for reducing my existing foam flock down to an even finer texture.
I sprayed the scourers with dilute PVA and sprinkled on flock, making sure I sprinkled on top and underneath. A spray of isopropanol, more PVA and a second coat of flock was added immediately. This was sealed with a final spray of isopropanol and PVA. The isopropanol acts as a surfactant, drawing the PVA into the foam and pan scourers to bond it all into one firm sheet. A quick wipe with a damp paintbrush afterwards removes any flock that has stuck to the tree trunks.

Some additional items were added to the bases such as green dyed tea-leaves and the bamboo root bushes, which were brush painted with PVA and foam flocked.

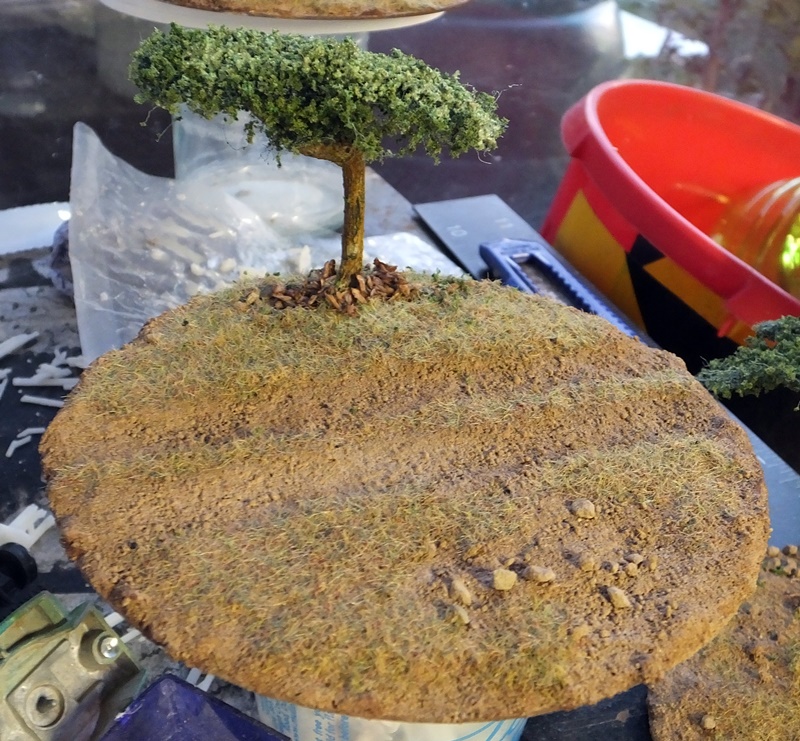


The "forest floor" cat litter pellet wood shavings were sprinkled around the bottom of the trees, sprayed with isopropanol, then had PVA/matt varnish mix pipetted on to fix everything in place.

I was very satisfied with the completed trees. One or two of the canopies had drooped at the edges because of the weight of wet PVA infused flock, but it wasn't too bad. If I make some more of these trees, I'll probably put a bit of wire under the canopy to keep it straighter.

With the trees finished, the objective markers are ready to be dressed with their scene-specific items. I'll have a more in-depth look at some of these next time.


Great job!
ReplyDeleteGood game.
Thank you!
DeleteLook great to me! Nice work
ReplyDeleteThanks, I think with a bit more practice I could get them looking even better.
Delete