Tuesday 27 July 2021

Stand to!

Neo-Colonial Commonwealth marines mobilise in response to intel of rebel movements near their camp.  Commonwealth troops were engaged for over 2 years trying to suppress the rebels on Gordon's Gamble.  Much of the fighing took place in the coniferous forest near the capital Bailey's Beacon.


A few photographs on my new gaming board.  Trees I think are Heki.  Vehicles are Old Crow Glaive APCs and a Sabre grav tank.  Infantry are NAC Marines from Ground Zero Games.  Tents from Alternative Armies.

Sunday 25 July 2021

Summer of Scenery 2021 - Part 9d: The big(ish) one! Flocking and finishing touches.

After filling any gaps, the final stage of the board was flocking.  A base layer of superfine foam in various shades of green was sifted over most of the board.  A soil/tile grout mix sprinkled on for the paths, with some additional brown and black cement pigment powder to enhance the colour.

I painted some 3d printed doors with a burnt umber and burnt sienna base, then drybrushed with GW chainmail.  These were glued into place with UHU glue.  They were test fitted while applying the paper/plaster mix so an imprint was left, ensuring a snug fit after the rocks had been painted.

Some additional small pieces of clump foliage were sprinkled around and the whole table was sprayed with isopropyl alcohol and then watered down PVA and matt varnish from a plant mister.  I've had problems with it gumming up before but this time I put the mixture through a blender which removed all those little stringy blobs you can get in PVA and it sprayed very well.

Green dyed tea-leaves were added in patches, as was green dyed sawdust, to add to the variety of textures and colours.


The soil/grout mixture was topped up in various places to ensure it blended into the flock.


Soil/grout was also sprinkled along the cliff-side path at the back of the board.  General opinion from members of a few FaceBook wargame terrain groups was that the board would be more flexible without the ruins on the plateau, so this area has just been left fairly flat to allow multiple options.

Some areas need a little more grout added to bring the path level up to hide the bottom of the doors.

I'll probably revisit the scenery in order to add some rocky debris along the bottom of the cliff sections. I have a lot of crushed plaster rubble that can be painted in the same leopard spot technique.

The edges of the plateau had the soil/grout mix applied where the ground would have crumbled away.

The brick panel in the cave at the rear was given a gentle brush of fairly thin burnt sienna to make it standn out from the surrounding rocks.  The thinned paint gives the brick a suitably red/orange colour but allows the earlier black shading wash to show through, giving some variation to the hue.


Monday 12 July 2021

Summer of Scenery 2021 - Part 9c: The big(ish) one! Painting the board.

With rock moulds in place and the polystyrene trimmed a bit here and there, more of my toilet-roll-plaster ground texture was added, this time reverting to the Crystacal-R.  I mixed up fairly small batches so that I could get it onto the board with minimal wastage.  I left out the mortar tone colourant because much of the mix was being applied around the rocks moulds and I didn't want to stain them.  Pure plaster was dribbled in between rock moulds in places to blend them together, using a dental tool to scratch in matching detail.  I carved out quite a lot of extra polystyrene along the rear of the main outcrop.  Originally a slope would lead down to the ledge but it seemed pointless to have that when there are steps right next to it.  I cut away the slope to create a ledge running right to the steps, this should also make it easier to place figures along here.

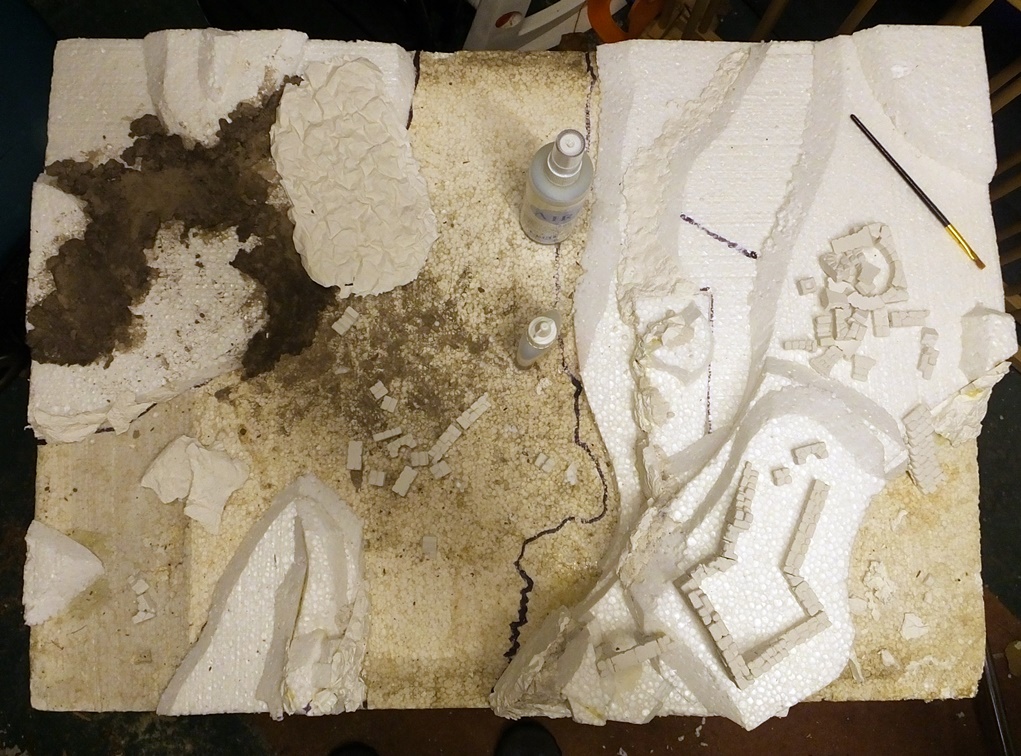
Rear loading / assembly area

I used some Linka moulds in the back of the small cave, a flat panel and a couple of buttresses will make a good frame for one of the doorways. 

Brickwork inside cave.

 XPS steps have been carefully measured out (approximately 2.5mm per step) trimmed to shape and set into slots cut into the hillsides.  A couple of coats of white masonry paint mixed with plaster gives them a reasonably tough shell.  The loo roll/plaster mix was added in around the steps to fix them firmly in place and till in all the gaps between them and the rock moulds.

Steps up to plateau.

A few gaps still remain, they become more obvious during the painting process when the white polystyrene interior starts to show up better.  These gaps were patched a bit later after the initial painting was complete.

Gap filling needed on the right!

With the assistance (and sometimes hindrance) of both Number 1 and Number 2 sons, rocks were painted with heavily thinned craft acrylics in the leopard-spot style.  I used ochre and taupe, each over about 1/3 of the rocks and steps.  We had the table out in the garden in case of any spillages!

A few more gaps to fill on the right.

The ground cover was painted with burnt umber and then a heavily thinned mix of this same dark brown was dribbled down the rocks to simulate mud washed down by the rain.  It also helped conceal where my young assistants had been over-enthusiastic when painting the brown near the rocks!

Cave on right also needs filling.

I had been planning to paint the stone archway a slightly different colour but it actualy looks quite nice in the leapoard spot scheme so I decided to leave it as having been quarried/carved from the same rock.  After a few hours drying in the afternoon sun the rocks were coated with a layer of matt acrylic varnish to seal everything in and toughen the plaster.

Steps and rear terrace.

The brown ground cover isn't painted right up to the rocks but the edge will be concealed by flock and rubble.

The other side of the canyon.

Apart from some small holes to fill and a little patch of ground cover to finish, the basic paint scheme is finished.

Aerial view.

The next stage of the painting process was a wash of black ink mixed with water and matt acrylic varnish, which enhances the shadows of the rocks and blends together the base colours.

A small amount of patching needed at the edge.

Steps lead up to the plateau at the top, these show up much better with the black wash shading them.

Steps looking good.

I wasn't sure whether to add a drybrush to the rocks as well but they seem to have come out fairly well with just the ink wash so I've left them as they are.  I can always try a very gentle drybrush at a later date if desired.

Probably the poorest of the rock moulds, but still not too bad.

Any areas where the ink wash has run across the brown earth will be hidden when I add the flock.

Rear of the canyon side.

The ledges will have soil and flock along the top rather than bare rock, though there will eventually be a bit of rubble/scree too.

Ledges overlooking canyon/valley.

Some work was still to be done to theh front cave, it isn't really deep enough yet so a little bit of polystyrene excavation will be required.

Main cliff face.

The archway blends in nicely with the surrounding rocks.

Archway and steps.

Another doorway needs some extra depth to the cave on the upper walkway level.

Side entrance doorway still to be completed.

The steps to the plateau have small rock outcrops to either side.

Steps to the plateau.

The rear area has 3 different levels for movement of troops.

Ledge along rear of rock formation.

 With painting complete apart from only a few small bits of patching, the next stage will be on to the flocking!

Wednesday 7 July 2021

Summer of Scenery 2021 - Part 9b: The big(ish) one! Rock moulds onto the gaming board.

I drew a quick sketch of a revised layout based on the polystyrene I'd glued down so far.  This incorporates some of the changes and a few other ideas.  I'd originally planned to create a road across the board, probably using white acrylic caulk with black cement dye mixed in for a nice grey colour.  The board will be more flexible if I create a dirt track instead.

Sketch map of the board.
 

With the underlying structure complete, it was on to casting some rock moulds.  As with my previous rocky tree hills, I decided to use some aluminium foil to make the moulds.  I tried to make fairly large, thin expanses of rock that would be easy to break into smaller sections for use.  Number 1 son helped with the crumpling and shaping of the foil.

Foil rock mould.

The plaster was poured, Crystacal R which sets fast and hard and gives lovely crisp detail.  While I had some mixed up, I poured a couple of Linka brick moulds too.  I discovered that a light spray with isopropyl alcohol beforehand really helps draw the plaster into all the recesses of the mould and reduces air bubbles.

Position of steps.

With the plaster set, I peeled off the foil and started cracking sections off to test where they are required.  The layout has evolved slightly, now there will be a ledge running around the back of the main outcrop, with an overhang above.  Number 1 son helpfully gathered some stair blocks from my Hirst Arts bits box and positioned them for me.  These are only temporary, the actual stairs will be carved from XPS and more in keeping with 15mm than the 28mm Hirst Arts ones.  Gluing of the rocks is done when the children are safely out of the way in bed!

Ruins and bridge.

I have a big box of pre-cast Hirst Arts blocks so Number 1 son and I spent a while playing with different configurations for the building on the top.

Bridge and steps.

I dug out some suitable blocks for the bridge between the plateau and the smaller outcrop.  A nice Roman arch is more interesting than a wooden bridge.  I also cut some steps into the polystyrene at the side to provide access from the ledge to the rear.

Second rock cast de-moulded.

I needed another sheet of rock, so more foil was procured from the kitchen cupboard.  I was a bit more careful with this casting.  The previous one had featured some very deep folds and the foil had torn in several places when being removed, small scraps remaining trapped inside some of the rocks.  This time it was more successful, the foil still tore in a few places but none got trapped.

Modelling compound / sculptamold.

I also experimented with some "modelling compound" or "sculptamold" type ground cover.  A loo roll was cut off the cardboard tube and dropped into a bowl of water.  After a few minutes soaking, the pulp was pureed with a hand blender.  Mixed 50/50 with plaster of Paris, it was applied to various places.  Crystacal-R sets very quickly so my wife picked up a bag of cheap casting plaster from the local DIY shop.  This actually proved to be incredibly slow-setting and I also used a bit too much paper in the mix.  The combined result was that it took about 3 days to full set so I decided that very small batches using Crystacal-R would be the better way to go.  I also experimented with using some mortar tone (cement dye) with the mix, a bit of brown plus a small amount of black to give a nice dark earth colour.  I thought that this might provide a good base on which to add my ground cover but it dried quite a bit paler than it first appeared so I decided not to use it again on this project.

Rock moulds in place.

With children out of the way in the evenings, rocks were glued in place with Gorilla glue.  The expanding gap-filling qualities of this glue are especially useful when gluing uneven rocks to uneven polystyrene.

Main rock face with cave below.

A small cave was added to the front of the main outcrop as well.  Some 15mm scale 3d printed doors will be used to show the access points to the underground base.

Rocks around ledges.

The thin sheets of plaster crack easily into suitable sections for gluing around the polystyrene.  Gaps will be hidden by dribbling plaster in or using the modelling compound/sculptamold proxy.

More rocks ready to fit.

Things had come together nicely andn with the majority of the rocks in place, the next task would be to finish off the basic landforms to get everything ready for painting...

Work in progress...


Sunday 4 July 2021

Summer of Scenery 2021 - Part 9a: The big(ish) one! Building a wargames gaming board

 I've been playing around with various terrain projects to try and improve my skills over the last year or so.  Since last August, I've made lots of flock in varying shades of green from foam, sawdust and tea leaves, experimented with making plaster rocks and leopard spot painting them, improved some cheap trees, made some hedges and bushes, 

I've always fancied a fully landscaped 15mm gaming table but I know that separate terrain pieces are more flexible.  Unless you have a permanent set-up though, most gaming tables still end up obviously flat with stuff added to them.  My ambition is to one day make a set of modular boards, probably with 2x4 foot sections. That should give enough space for really good bits of fully 3d scenery which hopefully help hide the modular nature, but still be easily stored.

That day is still some way off, but feeling a sudden urge to make something larger, I decided I'd make use of a couple of big sheets of expanded polystyrene in the garage.  Number 1 son assisted with designing the layout of the board and made use of my chunky permanent marker to sketch things out.

Planned layout.
 

The base sheet is 1" expanded polystyrene, rather dirty and scruffy looking.  I think it was originally the "cover" for our water tank in the loft.  The other sheet (of mysterious origin) seems to be about 20mm thick and this was chopped up into sections to make the hills.  Some offcuts of XPS rescued from a local building site would come in useful for some smaller, finer details such as steps.

Basic polystyrene landform.
 

I wanted some big rocky hills to take full advantage of the fact this is going to be fixed scenery.  One side of the board has a large rocky outcropping which will be finished using plaster of Paris rock casts.  A roadway cuts across the board, dividing in a Y-junction.

Main rocky outcropping.

Various little ledges run across the front of the outcrop.  Some sort of ruined building will sit atop the plateau, with a little bridge linking to the smaller outcrop at the side.

Main rocky outcropping.

The other side of the board has a lower hill on one corner.  The road splits off in 2 different directions, the smaller will be a dirt track.

Lower level hill.

Originally I was thinking of making the top of the outcropping removable with some rooms carved into the polystyrene but despite number 1 son's urging, I decided to save that for another time.  I'd rather concentrate on getting the basics down first before I move onto things like removable-topped rocky hills.  There are a few other changes to the original plan too.


Original plan.

The main outcrop has a gap in one corner.  The plan is for a small doorway leading into a hidden underground base. 

Rear of rocky outcropping.

There will be a loading/assembly area by the door.  Some steps will lead up to the upper part of the rock outcrop.

Rear of main outcrop with gap for steps.

The front of the outcrop has a small outcrop framing a gap through onto a ledge.

Smaller rock outcrop.

The ledges will provide a good field of fire over the road.

Ledges at the front of the main outrcop.

All the polystyrene layers were glued together with Gorilla glue.  Squeeze a wiggly line on the polystyrene, spritz with a plant mister to activate it and put the next layer of polystyrene on.  Pop a couple of cans of paint on top to weight it down and ensure the glue bonds firmly as it expands.

The next stage will be to carve the rough polystyrene into a more refined shape and add the rock moulds.