With the basic shapes of the bases created, I added some extra texture. Adding the casting plaster to the brown paper pulp had made it lighter in colour than I intended, and I also wanted to make sure the edges of the CDs were covered. I used my texture paint (brown acrylic, ready-mixed filler, fine sand, PVA) to daub a good coating on all the bases.
Once this had dried, I hot glued my privet stem trees in place. I added a splash of water to thin some PVA slightly and then my 3-year old assistant painted it all over the bases. I tidied up round the edges and made sure the hot glue around the trees was completely covered.
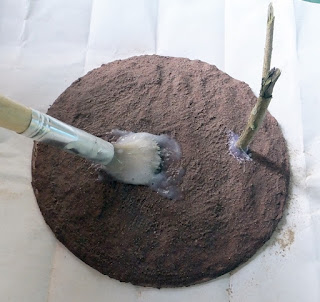 |
Applying the PVA.
|
Small rocks (sieved out from sharp sand) were sprinkled in a few areas for rougher terrain, especially around the trees.
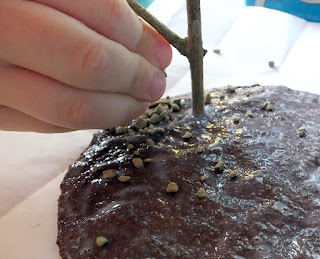 |
Adding the small stones.
|
A mix of tile grout and finely sieved sharp sand/soil was sifted over each base, using a tea strainer for extra control over these small areas. This is done over a sheet of paper so that the loose soil can be tipped back into the tub afterwards and not just wasted. Be careful with this stage, the tile grout is very powdery and it's not good to inhale it! We did this in the garage with plenty of ventilation and I made sure the young 'un wasn't crouched over the scenery breathing all the dust.
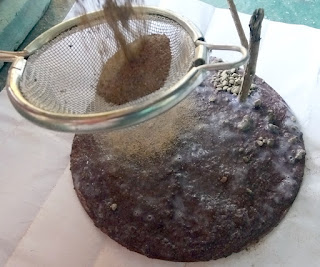 |
Sifting on the ground covering.
|
Once the "soil" had been sifted on to all the bases, they were sprayed with a 50/50 isopropyl alcohol and water mix until nicely damp, then watered down PVA/matt varnish mix (about the consistency/appearance of milk) was dripped on with a pipette to help seal everything in place.
 |
A base well-soaked in PVA.
|
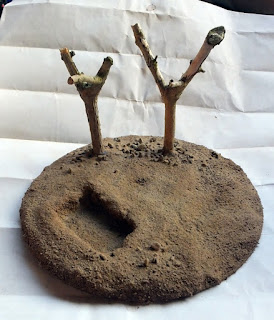
The bases were left to dry thoroughly in the sunshine for a few hours.
 |
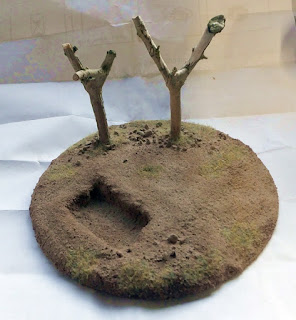
Archaeological dig taking shape.
|
 |
The beginnings of a rough track.
|
 |
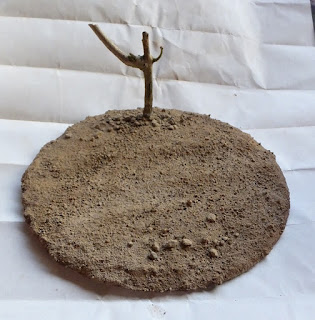
Generic flat base with tree 1.
|
 |
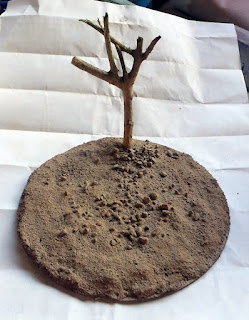
Generic flat base with tree 2.
|
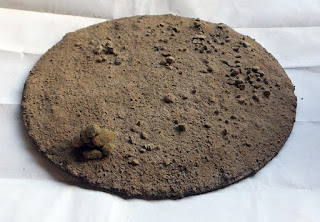 |
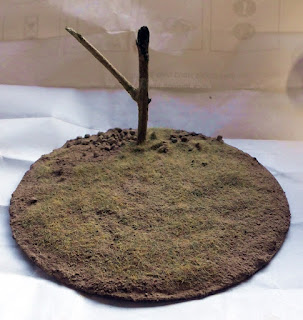
Generic flat base with small stone marker.
|
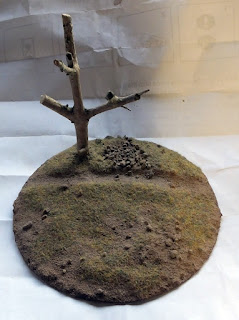
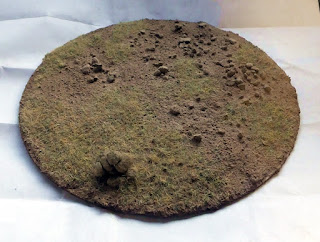
Once dry, PVA was dabbed acros the bases and some 2mm "Autumn grass" static grass sprinkled on. I sprinkled, shook off the excess, then sprinkled again. This seemed to give pretty good coverage, the second sprinkling often filled quite a few of the gaps left after the first. I made sure I left various patches of bare soil and rocks so the grass didn't cover the whole of each base.
 |
Base with ditch.
|
 |
Base with rough track.
|
 |
Base with stone marker.
|
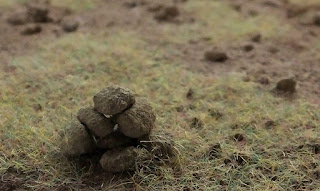 |
Stone marker detail.
|
 |
Generic flat base with tree 2.
|
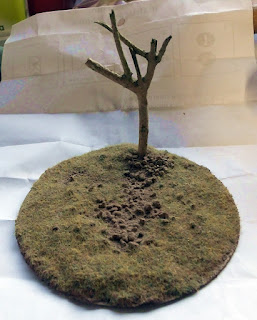 |
Generic flat base with tree 1.
|
 |
Archaeological dig.
|
With the basic ground cover complete, the next stage would be attempting the trees, the thing I was most nervous about!


No comments:
Post a Comment