Showing posts with label TTCombat. Show all posts

Saturday, 21 May 2022

Nodding donkeys

I happened to be browsing the TTCombat web site the other day when I came across these nodding donkey oil pumps in their "last chance to buy" section.  I hadn't spotted them before, presumably because they were in the Wild West section.

Oil pumps.

Though sold as 28-32mm, they look fine for 15mm and would probably even do for 6mm.  At £3.95 for 2 including postage, they're also excellent value.

What's on the sprue.

Although there are no instructions, these simple kits are all on a single sheet of 3mm MDF and fit together very easily. As with most TTCombat MDF kits, the parts were cleanly cut with only a single small point of contact keeping them in the sprue.  A few minutes with a sanding block cleaned these up and they glued together with superglue for the bits I needed to stick instantly and PVA for the rest.

Initial pump assebly complete.

I decided they looked a bit bare, so cut some 6mm wide strips of cereal packet card and used this, folded at 90 degrees, to cover the tabs on the edges.

Cereal packet card added.

I added the strips around all edges of the motor housings, using superglue for a quick bond.

Motor housing detail.

I also added some on the top of the support frame.

Support frame detail.

The entire model was given a coat of Wilko Supernova black emulsion paint to seal the MDF and provide a good base for the next stage.

Base coat finished.

The pumps tower satisfyingly over a 15mm figure.

Base coat finished.

These will mainly be used in sci-fi games, so I added a few vents, grilles and other greeblies from Lego bricks.

Extra decoration using Lego.

The base motor housing is very plain and even these few bits make a big difference.

Extra decoration.

Lego "cheese" slopes make nice vents when glued on at an angle.

Vents.

A curves slope makes an interesting equipment housing.

Curved slopes.

Some sloped grilles finish off the rear of the base housing.

Rear grilles.

The pump bases were given a coat of taupe craft acrylic for a concrete colour, everything else was painted burnt umber, then stippled with random patches of burnt sienna.

Finished models.

A drybrush of GW chainmail completed the initial painting, but I decided they needed a spot of brighter colour somewhere.  Taking inspiration from a few pictures I'd seen online, the "horse heads" were sponge painted with some Wilko "Bumblebee" emulsion paint from a tester pot.

Extra oil drums.

A couple of extra oil drums were added for a bit of interest, these were given the black/umber/sienna base coat as the main model, then toothpaste masked before top coating using a green spray can.  A scrub with a toothbrush in warm water gives a realistic chipped paint look.

Vents.

These tick the box of being scenery with which models can interact.  It doesn't just block LOS, figures can also be placed in and on it.
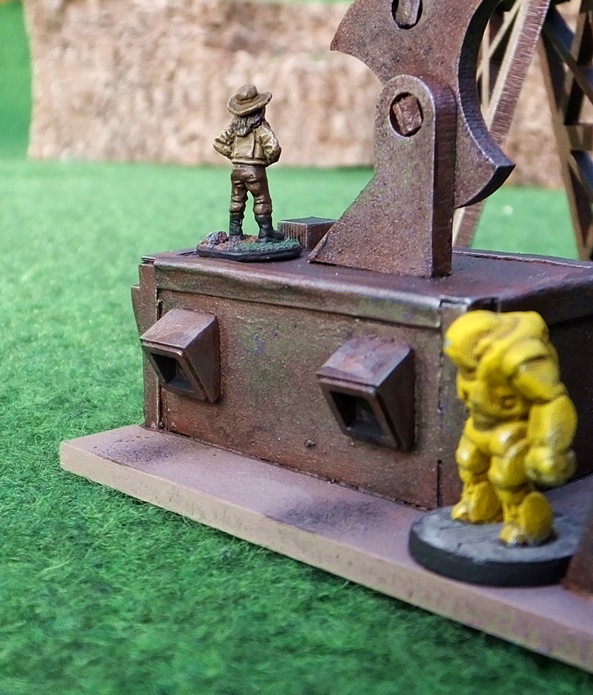
Hide and seek?

These will make a useful game objective.  It would probably be pretty easy to motorise these if you wanted for that extra bit of realism, but I'd taken so long sticking all the little bits of card on that I knew I'd never finish them if I didn't just get a move on!

Tuesday, 31 August 2021

TT Combat Sandstorm Barricades

TTCombat offer a great range of laser cut scenery but the 15mm scenery is mainly WWII.  That said, various items of the 25/28mm scenery ranges are easily re-purposed as 15mm.

 
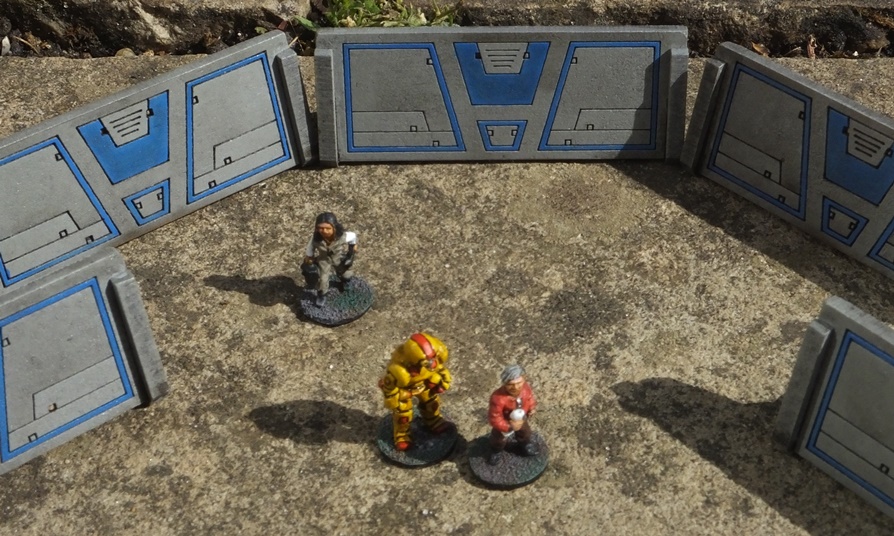
Although designed with games like Star Wars in mind, their "Sandstorm Barricades"work very well with 15mm figures, representing head-height wall. 
 
 
They come vac-wrapped on their wooden sprues and the majority of parts have only 1 or 2 narrow connecting points on each component.  It's the matter of a couple of minutes with a sharp stanley knife to cut through these, pop out the parts and give the connection stubs a quick rub down with abrasive to make them disappear. 
 
 
Parts slot together very easily, the barricades were glued together (with the assistance of a 4-year old helper) in about 10 minutes.
 
 
Once assembled, the barricades received a couple of coats of cheap matt grey spray primer.  A quick rub over with a wet & dry sanding block removed the rough surface to leave a lovely smooth finish.
 
 
Detail has been painted in red or blue acrylic craft paints, with burnt umber & burnt sienna rust marks.  The final stage was a wash of Future floor polish and black ink.


Tuesday, 22 September 2020

2020 Summer of Scenery - Part 7: TTCombat Ruined Gravity Lift review

 I saw this ruined gravity lift on the TTCombat web site recently and at only £3.95 and free postage in the UK I thought it would be a great piece of scatter scenery.  Although it's designed for 28mm, it's pretty scale agnostic (no doors, windows etc) so looked like it would be fine for 15mm too.

What the postman brought...

It comes on a single sheet of MDF, laser cut with only a single point of contact on each part keeping them in the frame.  Number 1 son was eager to assist with pressing out the parts and we sat outside in the sunshine to do so.  This did lead to a slight problem when all the outer panel pieces got knocked off the bench onto the floor, I thought that I picked them allup but one was missed and got rained on which left it expanded and disintegrating.  Fortunately this was easy to hide during construction!

All on 1 sheet of MDF.

The pieces were assembled with PVA.  The structure was a little bit fiddly in places and had to be kept in shape but overall it was a pretty easy build.  There are only 4 different panel shapes so it's important to set them out carefully to avoid repetition.  I cut out little scraps of card which were glued onto the panels to hide the square construction holes, hopefully they look like broken sections of an outer protective coating.  After assembly, they were stuck to some foamex bases with UHU then reinforced with hot glue, as with the hair curler scenery.  A few cables were added using guitar strings and solder. The base was coated with brown acrylic caulk and the main structure was given a spray with matt black primer.

Basic assembly & undercoat complete.

The bases were coated with texture paint, then a coat of Wilko emulsion Nutmeg Spice splotched with Coffee brown.  The gravity ring pieces were painted burnt umber then dabbed with a rough layer of burnt sienna.

Base coated.

Scale Reference Man is pleased to make another appearance.  These are suitable impressive for 15mm scale.

Main painting completed.

On to drybrushing - GW chainmail for the gravity lift rings, Wilko desert sand for the base.

Behold - cables!

Some of the cables were painted in brighter colours to add a bit of interest.

Scale Reference Man climbs up for a better view.

That's enough climbing! Come down!

After painting, on to flocking!  PVA was daubed around the bases and my homemade mixed flock sprinkled on.  A couple of bushes were constructed from coir (coconut fibre).  The flock helped to hide the panel that had been left outside in the rain!

Might have overdone the bigger bush.

Green-dyed tea-leaves helped blend the foam flock into the bases.

Dangling cables added.

A final sprinkle of autumnal static grass finished them off.

Completed!

I'd give this ruined gravity lift a grade A-. It goes together quickly and easily and is really cheap, especially when you bear in mind the free UK postage.

It could do with a few improvements: a greater variety (ie more than 4 shapes) of the external panels would be good; the inclusion of a sheet of laser-cut card panels to cover the assembly holes in the outer panels would be nice; the larger ring could do with a base.  I can see that the latter 2 would push the price up though, and it isn't especially hard to remedy these things yourself which is why it doesn't drop down to being a grade B.

Is it a Stargate?

I did make a couple of mistakes with these.  The card pieces on the outer panels didn't come out as I'd hoped.  My wife immediately said "Ooh, a little Stargate" and they do indeed look a bit like the SG1 gate glyphs (if you squint a bit).  Not what I intended but the idea of an ancient interstellar gateway discovered on a remote colony world immediately provides a few scanario/adventure hooks!

Scale Reference Man vents his opinion.

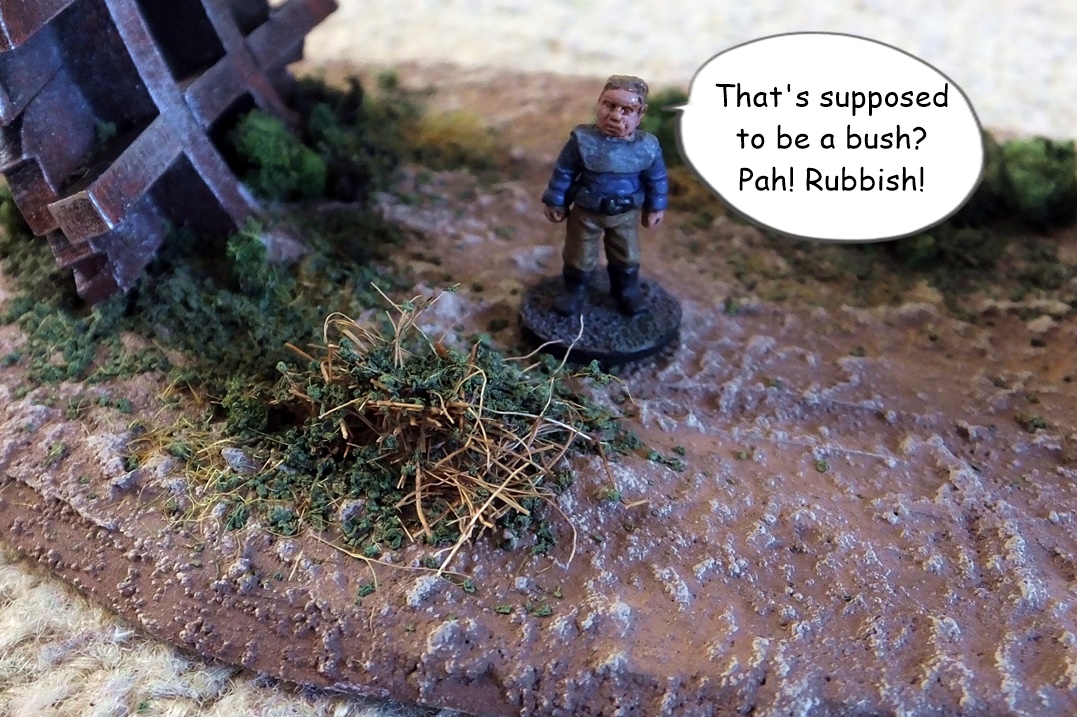
 My coir bushes also turned out to be somewhat of a disappointment.  Scale Reference Man agrees.

Oh and did I mention this kit was only £3.95 with free UK postage?!  Go and buy one now!