Sunday, 3 July 2022

AK47 Republic - Objective Markers Part 5: Painting A Weathered Bronze Statue The Cheap Way

One of my objective markers was going to be a statue.  I ordered a couple of eM4's "Tinpot Dictator" figures a few years ago with the thought that they'd make ideal statues, so this was my chance to actually use one.

I wanted a weathered bronze effect and there are plenty of companies wanting you to buy their special technical paints for a verdigris effect, but it's pretty easy to do with just normal acrylics.  After a spray of Wilko matt grey undercoat, I dug out some old craft paints: leaf green; forest green; Humbrol antique bronze.

I put a blob of each green on the bottom of an old yoghurt pot as a pallette.

This effect needs a sort of reverse highlighting.  The lightest green is applied first, making sure to get a good coat into every nook and cranny.

I mixed up a mid-shade between the light and dark greens and drybrushed this heavily over the model.

I followed with another heavy drybrush of the pure dark green. On reflection, I probably didn't need the mid-shade of green but it only took a couple of minutes to do, and I already had the paint squeezed out ready anyway.

This Mark Copplestone-scuplted model does not have excessive amounts of detail like many more modern figures, but has a great pose and nice folds in the clothing that take the drybrushing really well.

With the verdigris layers complete, it was on to the metallic top layer, my elderly pot of Humbrol antique bronze.  This meeded a good stir but I eventually got it into a usable state.  It's pretty good for a 20+ year old paint!

The bronze metallic was drybrushed across the whole figure, not too heavily because I wanted plenty of the green layers showing though.

It was a hot, sunny day and the paints dried quickly, so the whole figure only took about 10 minutes to paint from base green to finished metallic.


So there we have it, cheap and quick way to paint weathered bronze statues.  This is one which has been polished my the dictator's minions fairly frequently (note the lack of bird poo on the head, shoulers and upstretched arm), so the verdigris is restricted to the more protected areas.

If you wanted one that's been less well cared for, you would drybrush the bronze under the legs, underneat the arm etc.  The exposed upper surface would be almost entirely the lighter green, perhaps with an even lighter drybrush on the uppermost points.  There would also be darker streaking down the face, front of the chest etc where the water runoff has marked the surface.  Just do an image search on "verdigris statues" or "antique bronze statues" and you'll find loads of great examples.

Next time I'll take a look at the ornamental garden and brick plinth tohat make up the setting for my statue.

Saturday, 2 July 2022

AK47 Republic - Objective Markers Part 4: How To Make Vaguely Realistic Acacia Trees

The Acacia tree is a common site in pictures of the African savannah, that thick central trunk with the wide, flat umbrella of vegetation at the top.

Picture stolen from elsewhere on the internet.

 I wanted some of these for my objective markers, but the question was how to make them?  I tried once before with a dried Sedum stalk and a layer of coir (coconut fibre) across the top for the tree canopy, with fine foam flock added for leaves.  The results of this experiment were so miserable that I won't share them here!

As mentioned in an earlier part of this series, I had some pieces of privet from a dead piece of our hedge.  Being dead, these were already dry and ready to use and looked like they might form a decent shape for the basic trunk.

Bits of privet.

The bottom of the cuttings were sawn straight with a razor saw and the "branches" snapped or clipped off to keep them reasonably compact.

Privet with hand for scale.

 Once the trees were hot glued into position and the ground cover and grass glued on, I started thinking about the tree canopies.  I had some dry bamboo roots that looked quite interesting.

Bamboo roots.

The roots are pretty strong and have a great, branch and twig-like form.

Bamboo roots.

I also had some "forest floor" bark chippings to add round the base of the trees, made from compressed wood chip cat litter which had been soaked in dilute brown paint and crumbled into small fragments.

Reconstituted cat litter forest floor.

A first test showed that the bamboo roots were just too bulky and 3-dimensional.  I needed something flatter and after a rummage in the scenery making box I found some pan scourers, plus superglue (cyanoacrylate) and accelerator spray to help fix them quickly in place on the privet tree armatures.  Some of the bamboo roots did still get used for bushes on a couple of the bases.

Pan scourers, superglue and activator spray.

I tore up some bits of pan scourer as a test and they looked OK.

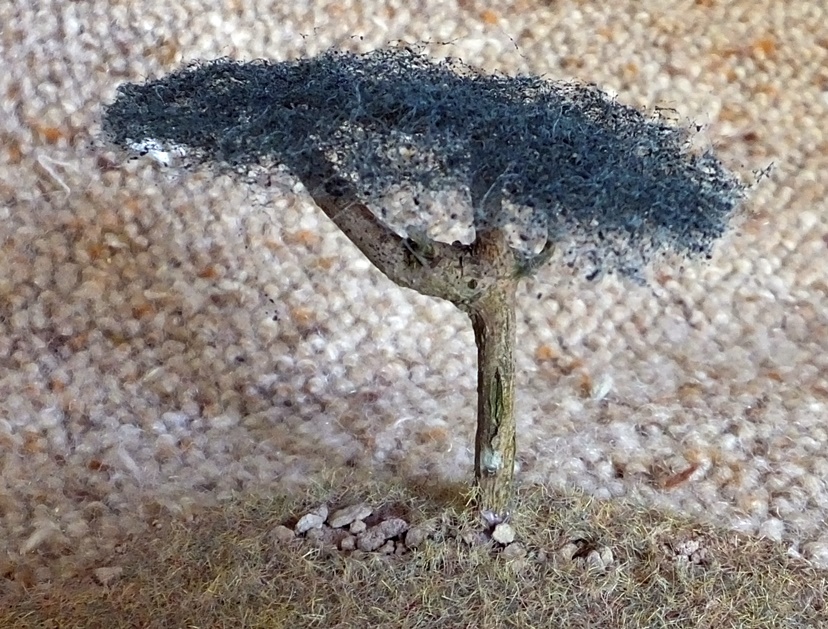
Test tree canopies.

Test tree canopy.

Satisfied with the test pieces, I set up my production line outside.  The activator spray smelled pretty foul so I wouldn't want to do it in a confined space!

Production line.

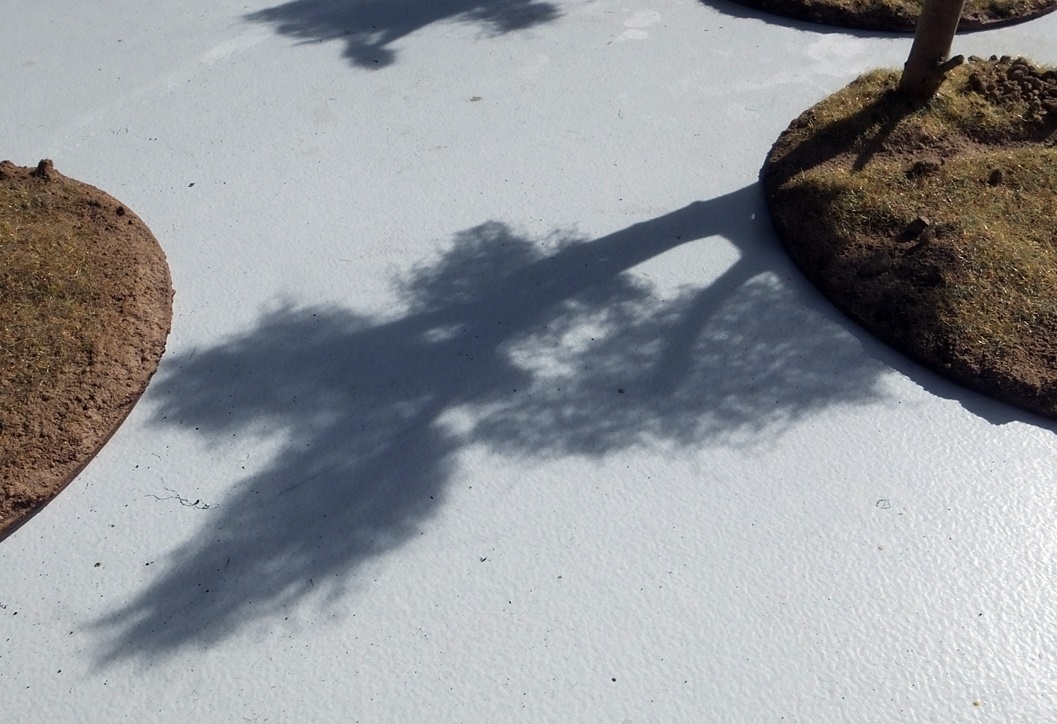
The shadows looked better hat the trees themselves did!

Tree shadow.

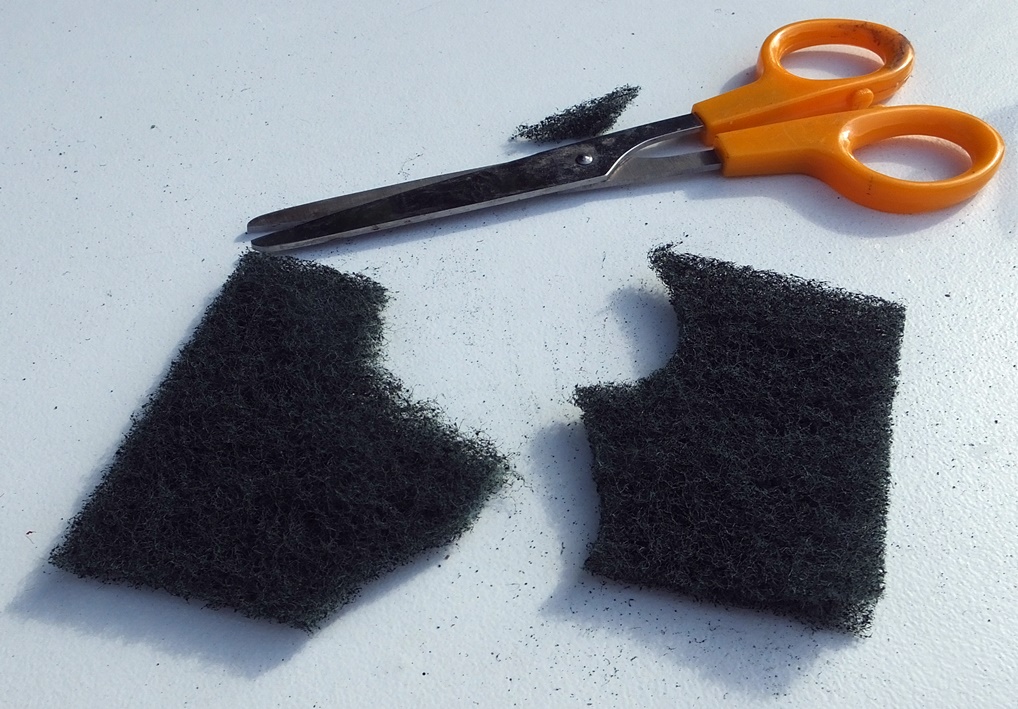
 The process I followed was fairly simple.  First, a rough and uneven shape was cut out of the pan scourer.

Cutting out the basic shapes.

The scourer was peeled into 2 separate layers.

Peeling into 2 separate layers.

Each layer was teased out or torn away around the edges to give a tapered edge and hide the sharp line where it had been cut.

Teased out around the edges.

The pan scourer layers were superglued in place on each of the branches to try and create a multi-layered top to the tree.

Glued in place.

Where necessary, gaps were torn to fit them around tree trunks/other branches.

Superglue ensures a fast and strong join.

The overall result looked pretty promising but the flocking would be the key for the final appearance.

Nice layering of the canopy.

The pan scourers all came out very well, some could have been a bit wider/longer to enhance the umbrella-topped Acacia appearance but overall I was pleased how the experiment was going so far.
 
Pan scourers all in place.


 Flocking was the next stage, using some very fine foam flock.  This was home-made from the batches I worked on in 2020, free upholstery foam off-cuts and cheap emulsion tester pots and craft acrylics.  I got a cheap coffee grinder for £15 in Morrison's and this is fantastic for reducing my existing foam flock down to an even finer texture.

I sprayed the scourers with dilute PVA and sprinkled on flock, making sure I sprinkled on top and underneath.  A spray of isopropanol, more PVA and a second coat of flock was added immediately. This was sealed with a final spray of isopropanol and PVA.  The isopropanol acts as a surfactant, drawing the PVA into the foam and pan scourers to bond it all into one firm sheet.  A quick wipe with a damp paintbrush afterwards removes any flock that has stuck to the tree trunks.

Some additional items were added to the bases such as green dyed tea-leaves and the bamboo root bushes, which were brush painted with PVA and foam flocked.


The "forest floor" cat litter pellet wood shavings were sprinkled around the bottom of the trees, sprayed with isopropanol, then had PVA/matt varnish mix pipetted on to fix everything in place.

I was very satisfied with the completed trees.  One or two of the canopies had drooped at the edges because of the weight of wet PVA infused flock, but it wasn't too bad.  If I make some more of these trees, I'll probably put a bit of wire under the canopy to keep it straighter.

With the trees finished, the objective markers are ready to be dressed with their scene-specific items. I'll have a more in-depth look at some of these next time.

Friday, 1 July 2022

AK47 Republic - Objective Markers part 3: Texturing and basic ground cover

With the basic shapes of the bases created, I added some extra texture.  Adding the casting plaster to the brown paper pulp had made it lighter in colour than I intended, and I also wanted to make sure the edges of the CDs were covered.  I used my texture paint (brown acrylic, ready-mixed filler, fine sand, PVA) to daub a good coating on all the bases.

Once this had dried, I hot glued my privet stem trees in place.  I added a splash of water to thin some PVA slightly and then my 3-year old assistant painted it all over the bases.  I tidied up round the edges and made sure the hot glue around the trees was completely covered.

Applying the PVA.

Small rocks (sieved out from sharp sand) were sprinkled in a few areas for rougher terrain, especially around the trees.

Adding the small stones.

A mix of tile grout and finely sieved sharp sand/soil was sifted over each base, using a tea strainer for extra control over these small areas.  This is done over a sheet of paper so that the loose soil can be tipped back into the tub afterwards and not just wasted.  Be careful with this stage, the tile grout is very powdery and it's not good to inhale it!  We did this in the garage with plenty of ventilation and I made sure the young 'un wasn't crouched over the scenery breathing all the dust.

Sifting on the ground covering.

Once the "soil" had been sifted on to all the bases, they were sprayed with a 50/50 isopropyl alcohol and water mix until nicely damp, then watered down PVA/matt varnish mix (about the consistency/appearance of milk) was dripped on with a pipette to help seal everything in place.

A base well-soaked in PVA.

The bases were left to dry thoroughly in the sunshine for a few hours.

Archaeological dig taking shape.

The beginnings of a rough track.

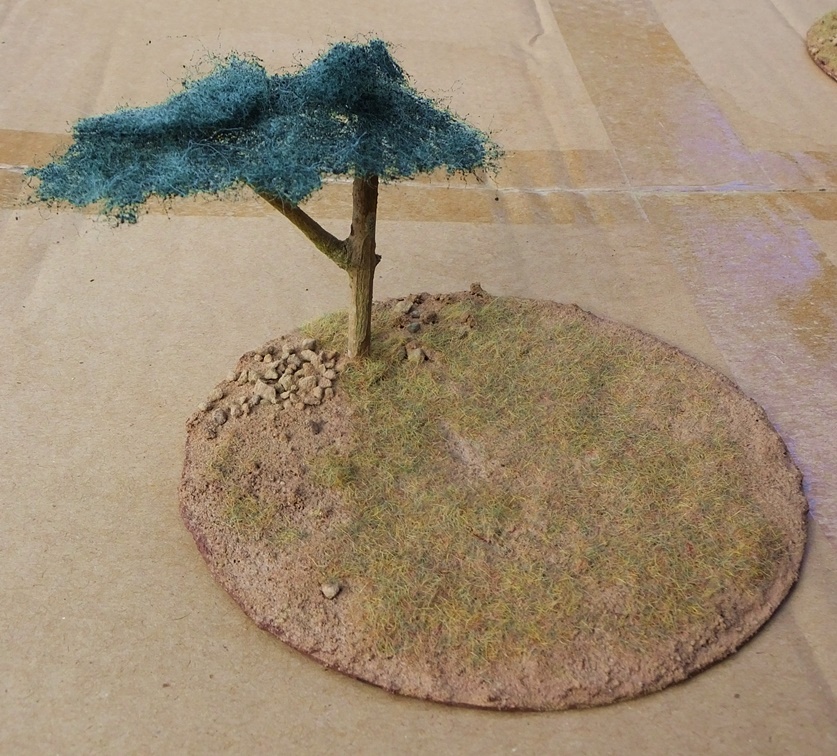
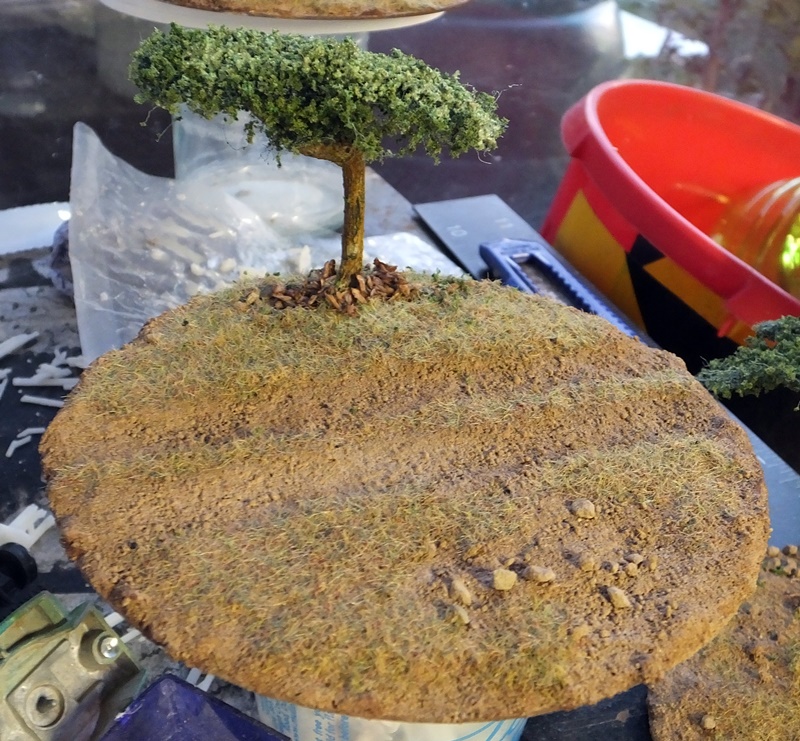
Generic flat base with tree 1.

Generic flat base with tree 2.

Generic flat base with small stone marker.

Once dry, PVA was dabbed acros the bases and some 2mm "Autumn grass" static grass sprinkled on.  I sprinkled, shook off the excess, then sprinkled again.  This seemed to give pretty good coverage, the second sprinkling often filled quite a few of the gaps left after the first.  I made sure I left various patches of bare soil and rocks so the grass didn't cover the whole of each base.

Base with ditch.

Base with rough track.

Base with stone marker.

Stone marker detail.

Generic flat base with tree 2.

Generic flat base with tree 1.

Archaeological dig.

With the basic ground cover complete, the next stage would be attempting the trees, the thing I was most nervous about!