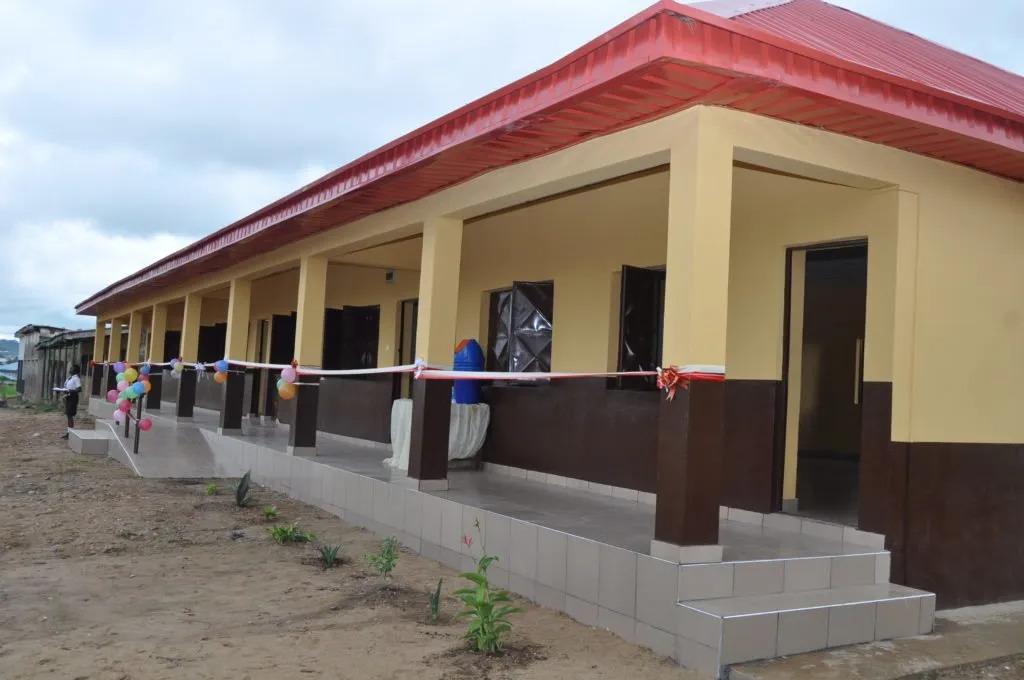
I managed to squeeze in a second build for the AK47 Republic competition. My inspiration came from a photo which I think must have been posted on the Ak457 Republic Facebook group, though I can't find it now. (If you recognise it as one you posted, let me know so I can credit you!). A school!
 |
| Inspiration! |
I did consider a damaged building but decided that an intact one would give more of a sense of hope. I had a look at a few African schools for inspiration...
 |
| Rather damaged but I like the colours. |
 |
| I don't want to build a damaged one. |
 |
| Verandahs seem a common feature. |
 |
| Another nice verandah. |
 |
| Another verandah. |
 |
| Typical 2-tone colour scheme. |
 |
| I'd have added litter bins if I'd had time. |
 |
| Bare block walls would have taken too long. |
 |
| Inspiring slogans on the wall. |
 |
| Classroom names noted. |
 |
| Nice maps on the wall. |
A reminder of the rules:
- 10x3" base
- Must have a vehicle on it
- Must have a name badge/sign on it
- Can't just be a banana on a base.
My initial sketch had 3 classrooms (or 2 classrooms and a library), but before cutting the parts out, I realised that I hadn't left a gap for the vehicle that the objective should have!
.jpeg) |
| Plans. |
The basic construction was the same as the garage, foamcore on a Foamex base. I incorporated a verandah and used bits of barbecue skewer for the support poles. The windows are larger than usual, many of the schools I looked at had big windows to let in plenty of light, presumably because they are shaded below the verandah.
 |
| Completed objective with figures for scale. |
Quentin (6) suggested that his school's playground was better because it had play equipment. So thanks to his suggestion, I added a seesaw and swings to the space next to the building.
 |
| Play equipment. |
The seesaw is just a piece of coffee stirrer, cereal packet card seats and a barbecue skewer, given a wash of Army Painter strong tone wash.
 |
| Seesaw and swings. |
The swing frame is a section of FDM 3D printing filament, warmed over a candle until I could fold it into shape. Some superglue and bicarbonate of soda was used to fix another section into the top. I painted it orange, gave it a dark wash and added a few patches of rust and some metallic scuffs around the bottom of the legs. The seats are coffee stirrer with small holes drilled in the ends. I soaked some tan cotton in PVA to stiffen it and once dry, superglued it into place through the seat holes and wrapped around the frame cross piece.
 |
| Playground. |
The school bus is a repainted Matchbox vehicle. I kept the original yellow body but added a red roof and bonnet for a little more colour. I added some extra details such as headlights and some patches of rust (sponged on with burnt umber & burnt sienna). The whole model had a coat of Army Painter strong tone wash to enhance the detail. This preserved the writing on the bus and helped save time I needed to spend on other parts of the build.
 |
| Swings. |
After gluing the swings into place on the base, I added some extra static grass around the bottom of the legs to hide the join. I made sure that I left the patches under the seats free of grass to show the wear from use.
 |
| Seesaw. |
The seesaw was squeezed in next to the swings, again leaving bare patches under the seats where the ground would get worn.
 |
| Rear view. |
The roof is cereal packet card glued to 3 triangular braces. Sections of corrugated card were glued on top, the bracing helping prevent warping. The roof was painted a pale grey all over, then certain panels picked out in a few different greys, mixed by adding a few drops of dark grey or taupe into the base colour. Various panels were brushed roughly around the edges with burnt umber, then some burnt sienna added more selectively for the rusty effects.
 |
| School name. |
I came across a few "Peace Schools" when researching. Most involved the town/country name but I wanted mine to be flexible for use in a number of different scenarios, so went with a more generic name. The sign was printed out in a number of different typefaces, this one looked the best. The sign was glued on with PVA, then over painted with thinned PVA. I gave it a thin wash of Army Painter soft tone to give a subtle weathered look.
 |
| Verandah. |
The verandah works well. I used filler mixed with PVA and gray paint for the concrete surface. My usual ground cover (brown tile grout mixed with fine sifted sharp sand) was sprinkled along the wall and around the bases of the pillars. I used a small, dry brush to move it into the right positions, then applied thinned PVA with a generous dose of washing liquid to help it flow smoothly to fix everything in place. A bit more static grass around the edges finished off the groundwork.
 |
| Classrooms. |
I labelled the classrooms to finish the model off. The walls have been coated with a mix of PVA and filler, I was doing this in more of a hurry than the garage, so didn't have time to do the messier sifting-filler-over-PVA method. The main colour is a 25p tester pot of Wilko "Cornish Sand" house paint with a "Black Forest" border along the bottom. The window sills are coffee stirrers.
If I'd had time, I would have added a few extra details such as rubbish bins against a couple of the verandah poles and a few slogans ("Laziness will cause you pain", "What saves a man is to take a step" "Don't look where you fall, but where you slipped" "All children can learn"). I like the idea of a map of Africa, this could have gone on the end of the school next to the playground. I did print a map out, but it didn't look very good in black and white and even if I had hand-coloured it, I don't think it would have looked quite right. After I'd taken the photographs, I also realised that I'd forgotten to add any doors!
So, there we have it, another objective ready for use as a Special Objective in AK-47 Republic, or just as general scenery in a game!

.jpeg)


Great job, thanks!
ReplyDeleteThank you!
DeleteThat's excellent 👌
ReplyDeleteThank you!
DeleteLove it, what a great table piece
ReplyDeleteCheers
Matt
Thank you!
Delete