Alas! The home of the Emperor's wizard has been seized by the forces of evil! Can our heroes rescue him?
 |
| Into the dungeon they go - an Orc is sighted! |
 |
| Barbarian trades blows with the Orc but is victorious! |
 |
| Elf leads the way down the corridor. In the background looms a pit where the Barbarian fell to his doom, slain by Orc guards! |
 |
| What's through this door... the guard room! 2 Goblins and an Orc! The Elf and Dwarf are slain in the ensuing struggle! |
 |
| The Halfling checks the prison cells - here is the Wizard! |
 |
| "Thank you young adventurer - now let's get those Goblins!" |
 |
| Guards defeated, Wizard and his Templar from the adjoining cell head for the armoury. |
 |
| The Wizard restores the Dwarf to life, he and Halfling continue towards the next corridor. |
 |
| A Beastman blocks the way through the Wizard's study - until he is incinerated with a fireball! |
 |
| Useful spell ingredients here! |
 |
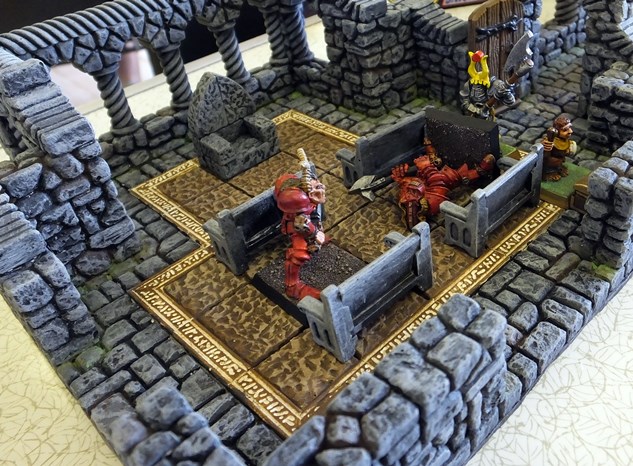
| Into the grand chamber where Chaos Warriors prove no obstacle to our heroes. |
 |
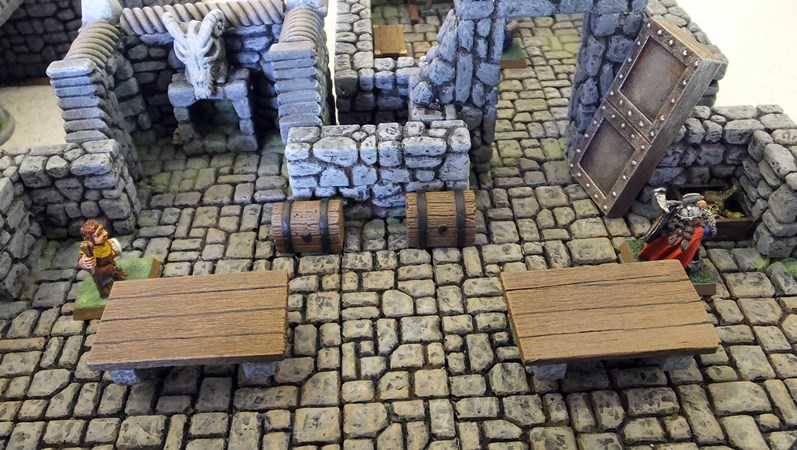
| The store-room, guarded by a Beastman. |
 |
| "Bugman's Ale!" cries the Dwarf, "I'm quaffing some of that!" |
 |
| The Wizard heads for his bed chamber to fetch more spells. |
 |
| The Wizard's wall of stone blocks 2 Beastmen but more come from the other corridor... |
 |
| Look out Halfling! |
 |
| Is this where the Beastmen came from? |
 |
| Look out - two more hiding round the corner! |
 |
| The Dwarf falls once more - and the other Beastmen start to break through the wall of stone... |
 |
| Re-animated once more, the Dwarf presses on, slaying first the Beastmen, then some Goblins. |
 |
| The Halfling foolishly opens the tomb. Good job the Templar is a fearsome warrior. |
 |
| Their mission competed, our heroes head for the surface. |
 |
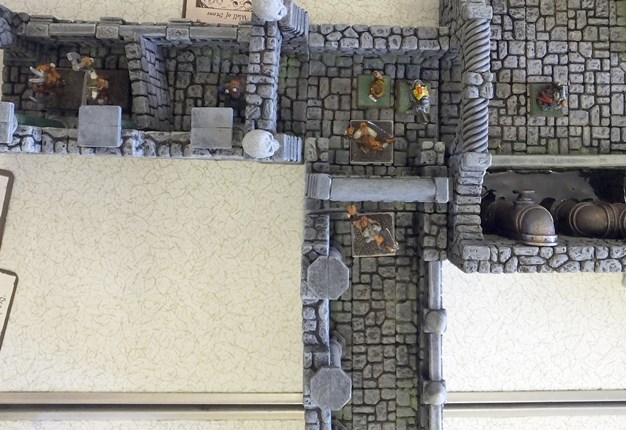
| The complete dungeon - entrance bottom right, exit far left. |